Print. Cut.
Try it tonight.
Prepare a print-and-play PDF with the selected components and cutting guides. Make a simple copy, test the handling, and discover what needs changing.
See actual exported sheets
The tabletop game creation studio
From the first card to the whole table.
Design, playtest, and bring your game to life with Carta.
For game designers. For the game you can’t stop thinking about.

For independent designers. For the people publishing their next game.
It’s an idea. A system. A hundred small decisions that have to work together.
Carta gives that work a home: the artwork and data, the components and constructions, the rules, the playtests, the files, and the images that introduce your game to the world.
Start with a deck, a board, or a blank project. Change a value, try a new layout, build a prototype, and come back with a better question.
Develop consistent component families, inspect artwork and physical formats, prepare the next proof, and stage product imagery from the same authored game.
Components & artwork ↔ Data ↔ Rules & testing ↔ Construction ↔ Output & presentation
01 / From one card to a deck
A name. An illustration. A different effect.
Connect a shared design to your card data, then give every card its own part to play.
Explore the finished cards
Three records. One shared design.
Each card keeps its own text and illustration, with a consistent layout across the deck.
A deck that stays together. Import CSV records, link text and artwork, and refine the design they share.
Actual exported cards · Monster MunchThe system behind the illustration
Import CSV records and connect names, values, rules text, and images to a shared layout. Move through the records and see the design respond.
Useful for the next balance pass, a growing set of cards, or a deck whose visual identity needs to stay consistent.
02 / Go beautifully into detail
Illustration, typography, and precise vector tools. Work with layers, shapes, and imported artwork, then see those designs become game components.
Draw and edit vector shapes, arrange layers, and place your own illustrations. Keep control of the details at the component’s physical size.
Work with character and paragraph controls, imported fonts, and inline symbols. Shape the language of cards, boards, and player aids.
Use shared styles and supported action sequences. Apply a planned batch to selected artwork when the same edit needs to happen more than once.
03 / Small pieces. Big personality.
Keep scrolling to bring it togetherThe same idea, taking shape across a whole deck.
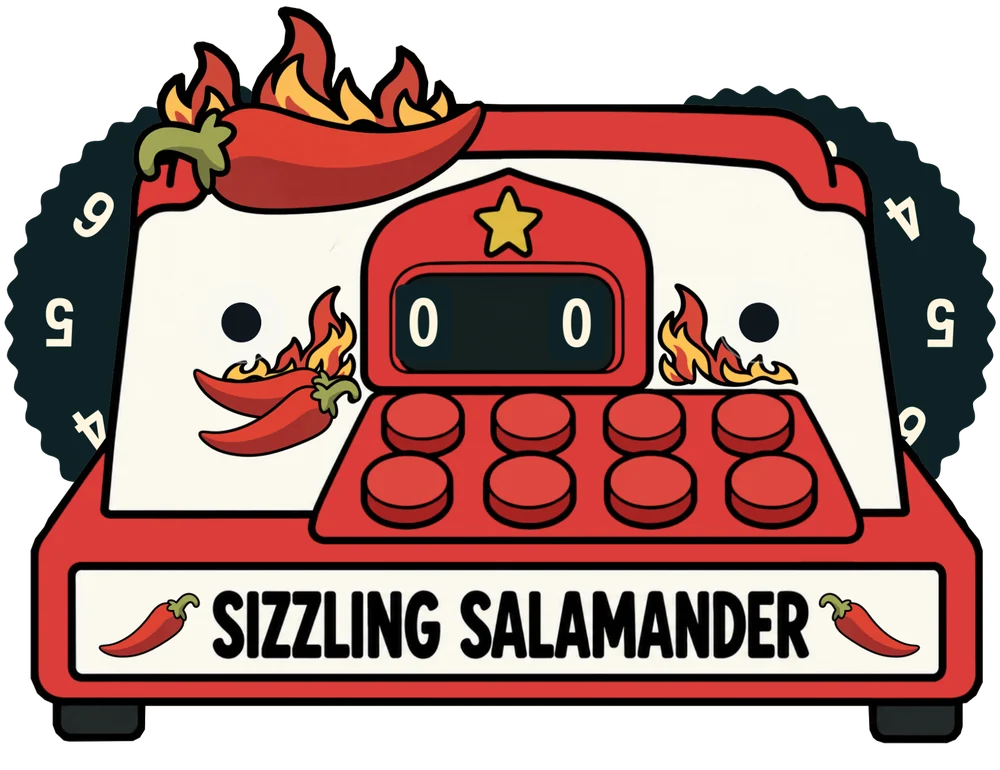
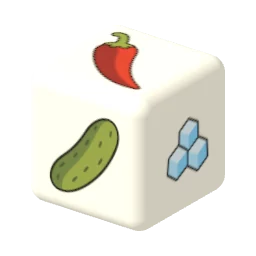
Boards, illustrated dice, and a tracker with two dials.
A connected family of components, ready for its next playtest.
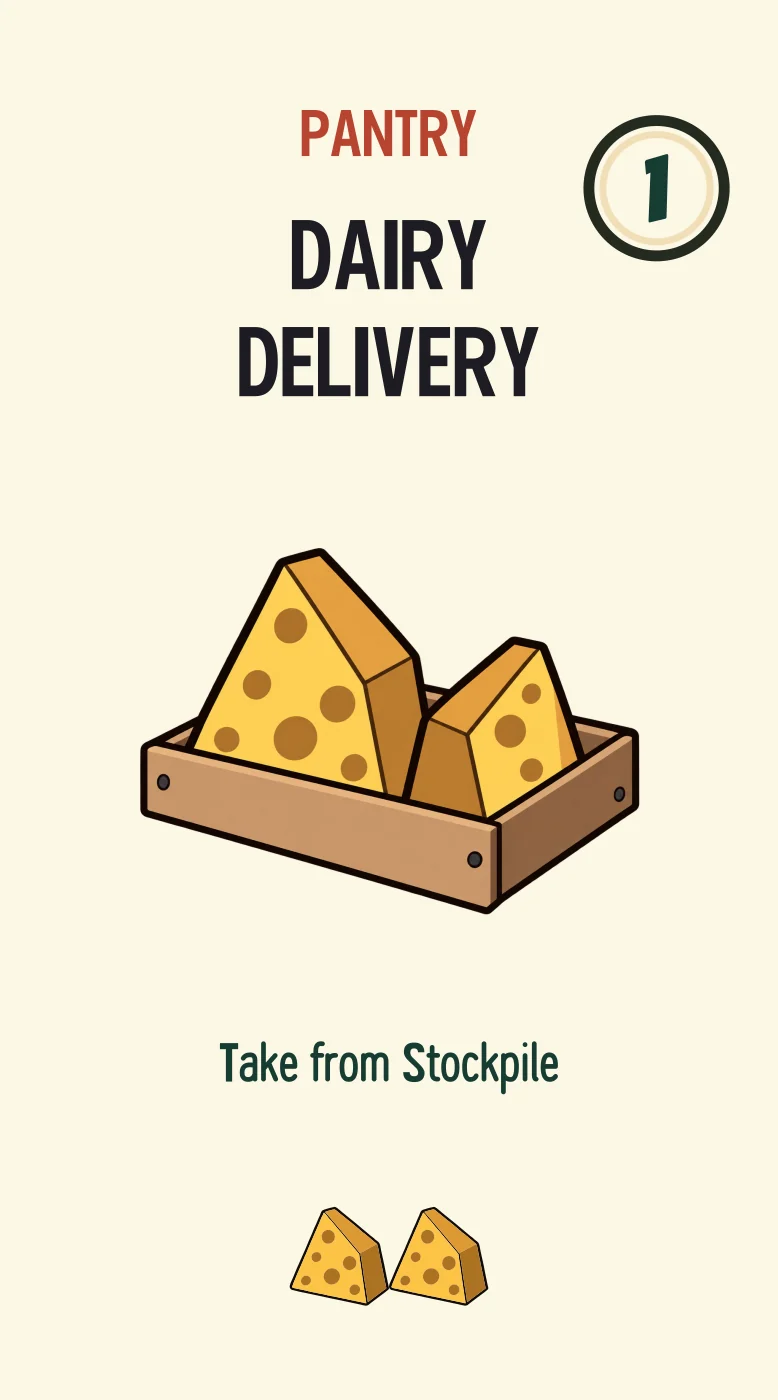
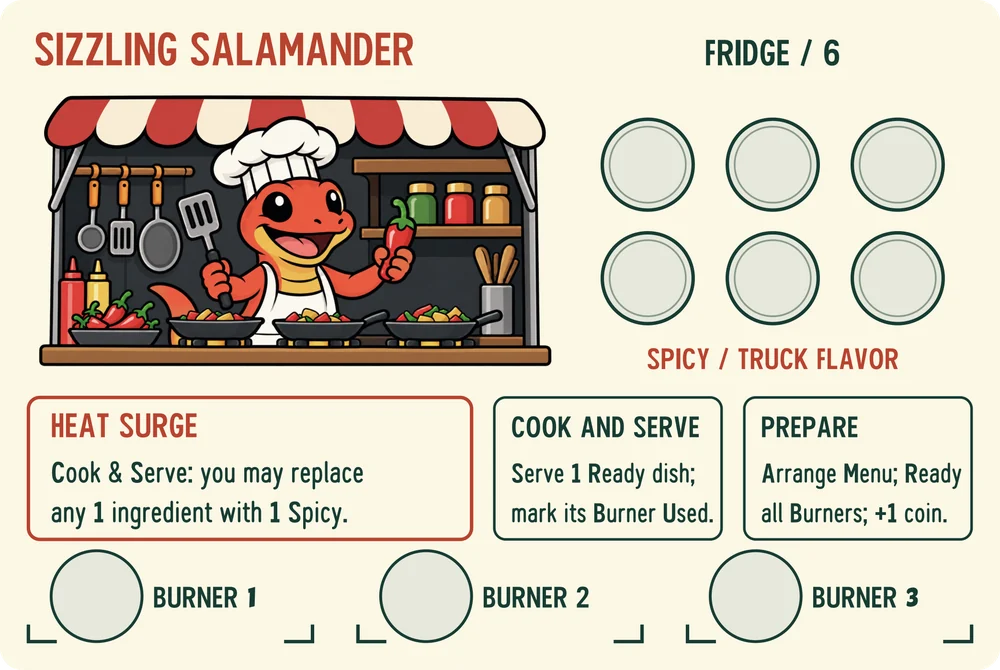
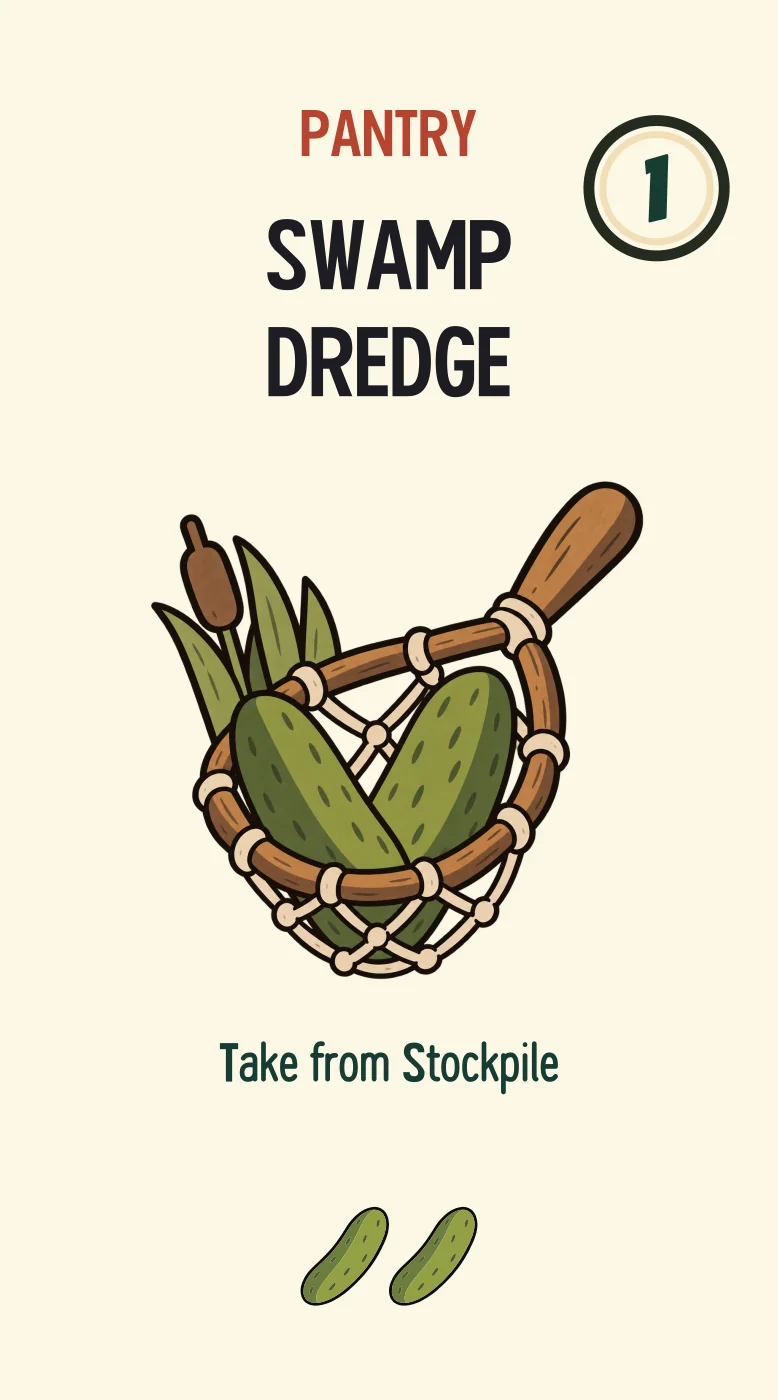
Authored in Carta · Monster Munch
Make a sample. See how it feels.
04 / Think beyond the surface
A component has artwork. It also has a size, a material, a front and a back—and sometimes layers, moving parts, or a place it needs to fit.
Work with physical dimensions and face artwork. Inspect layered components and dial mechanisms in the constructor, with the flat artwork and assembled view close at hand.
Boards, tiles, tokens, standees, dice, and trackers have different jobs. Their authoring tools follow the piece you’re making.
Develop the box around the game. Explore exterior faces, the assembled packaging, and an insert’s compartments and contents before making the next physical sample.
Make a sample. Check that the pieces fit, stay in place, and are easy to take out.
05 / Find the game in the idea
The best part of making a game is finding out how it plays. Arrange the starting table, put components into a local playtest, and discover what needs another pass.
Define the table and starting components. Use the manual table while the design is changing, then author and test game behavior where automation helps.
Try.Words. Behavior. Feedback.
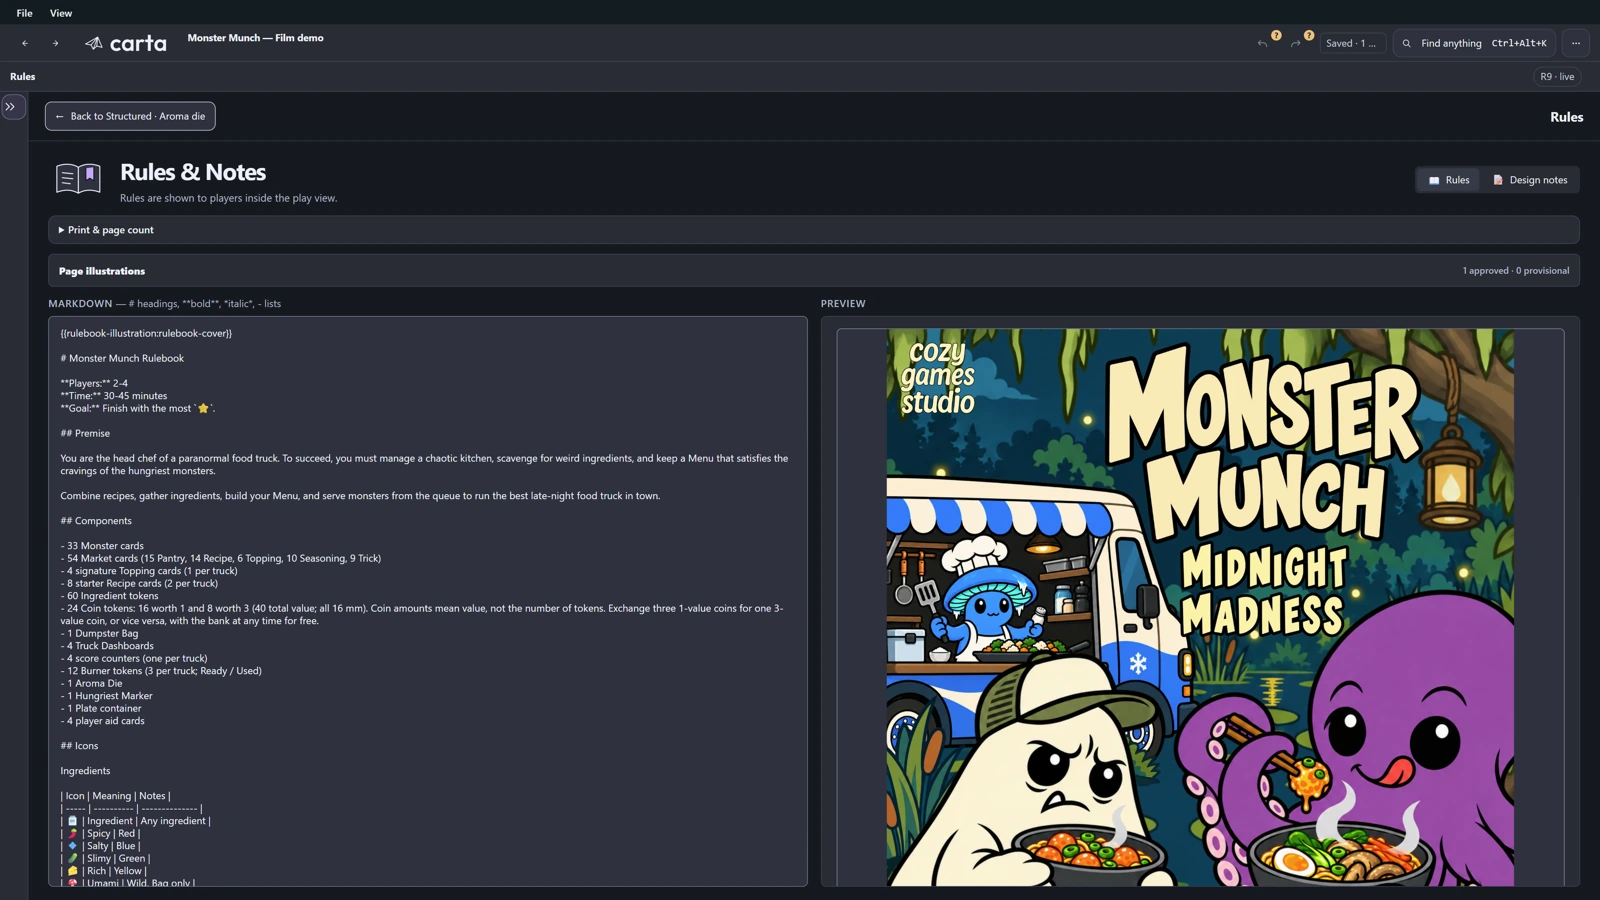
Write player-facing instructions alongside your components. Keep design notes separate, and inspect the page layout as the rules develop.
06 / From a good idea to a real first copy
Print the cards. Cut the pieces. Fold the box. Make a copy you can hold, pass around, and play—with home printing and Cricut tools.
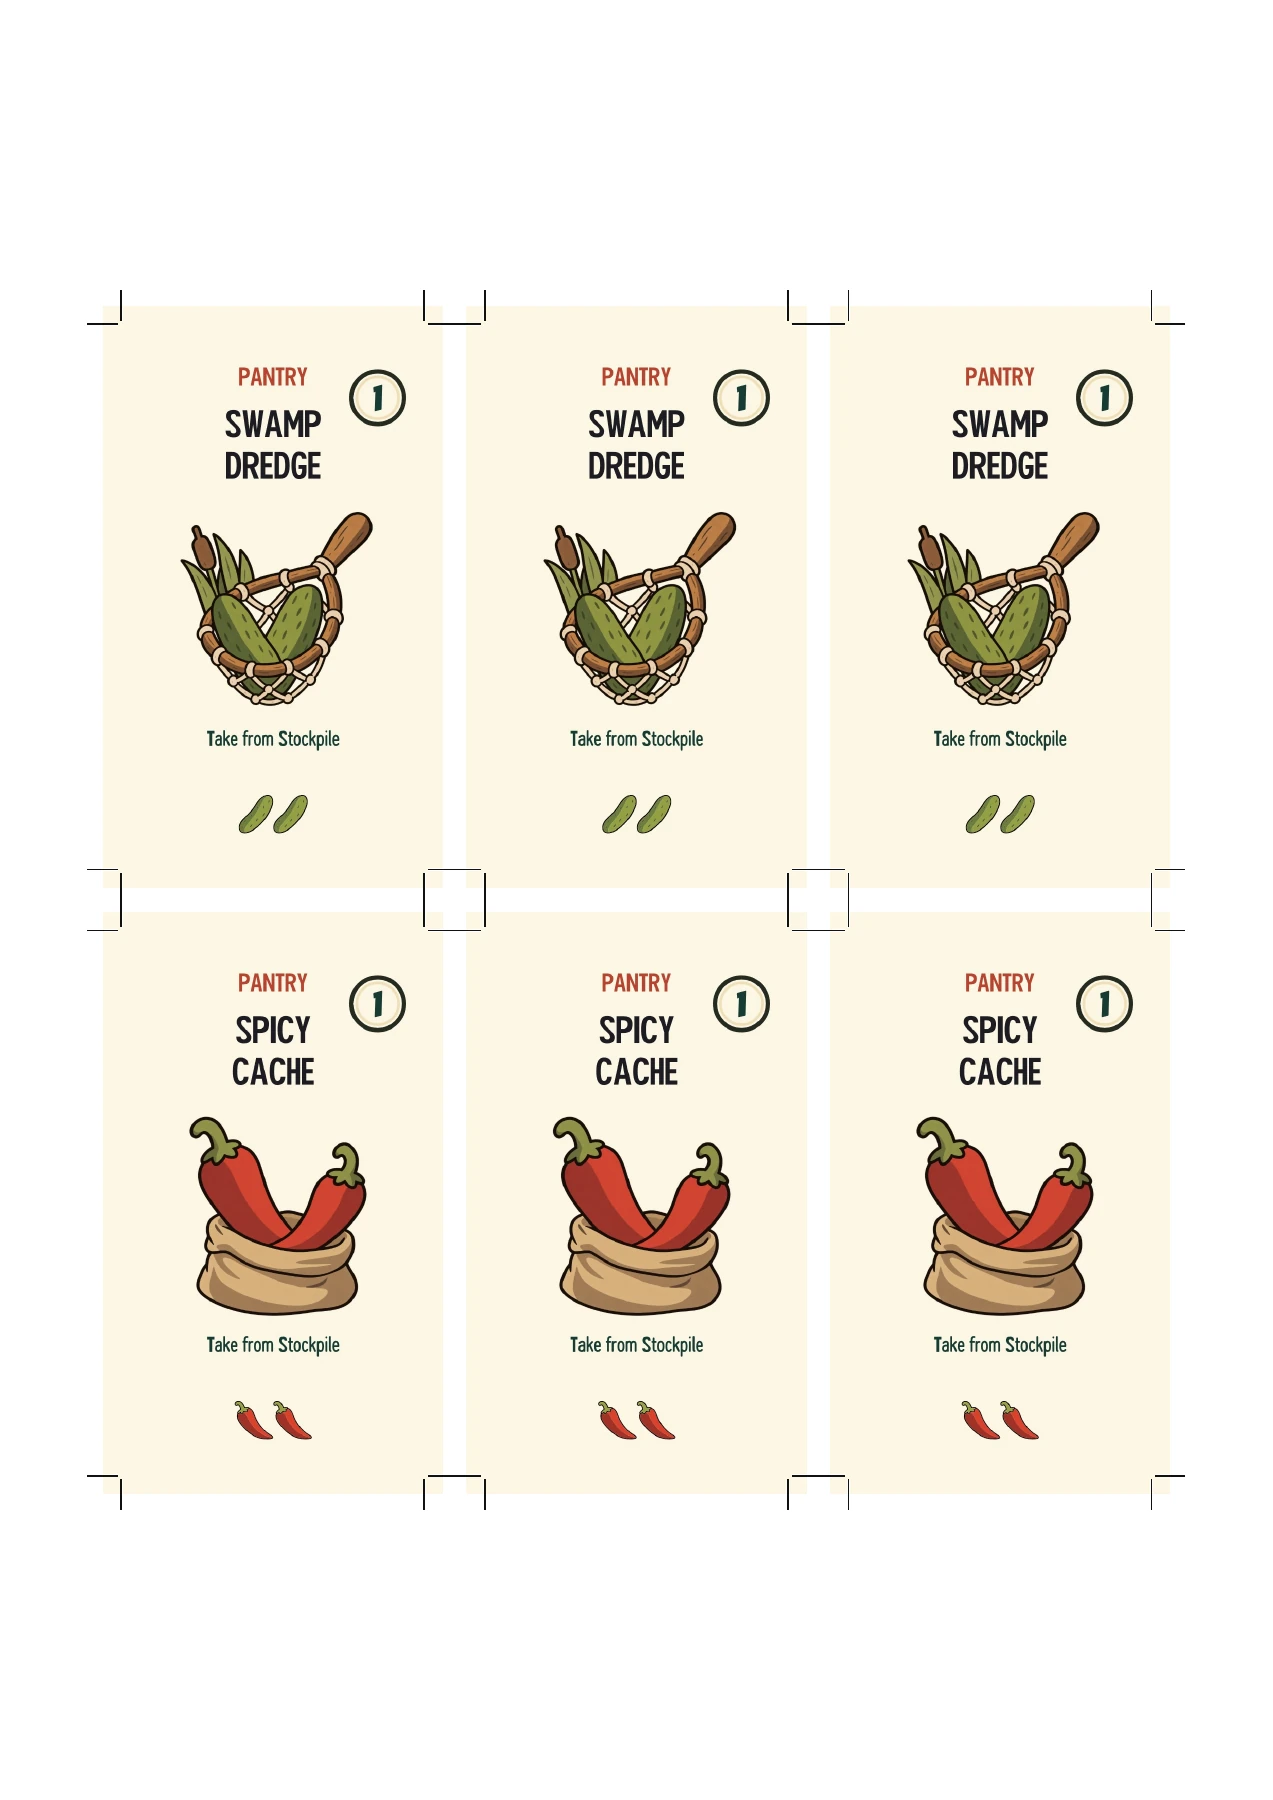
Prepare a print-and-play PDF with the selected components and cutting guides. Make a simple copy, test the handling, and discover what needs changing.
See actual exported sheetsExport supported cut and score paths, plus artwork for Print Then Cut. Carta keeps physical dimensions and stock layers in the files; Cricut Design Space handles machine setup and mat layout.
Make layered pieces, folded packaging, and supported inserts. Check how the actual material bends, how pieces fit, and how the prototype feels to use.
Then take that learning back into the project.
Files are prepared in Carta; Cricut operations are set up in Design Space. Machine, tool, and material compatibility still apply.
Cricut’s Print Then Cut guide ↗07 / Put the next version in motion
A copy for tonight’s playtest. Artwork for your printer. Files to share with your manufacturer. Take the next version of your game beyond the screen.
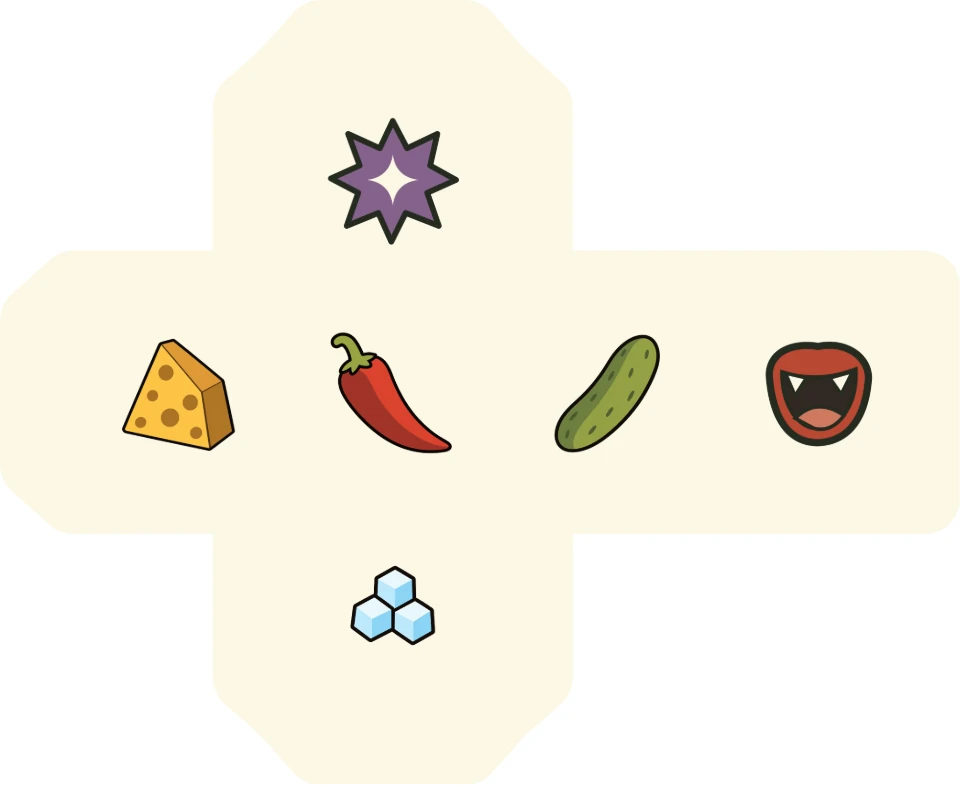
Export artwork, cut lines, and print-and-play sheets. PDFs currently use RGB colour; CMYK conversion is not included.
Made in Carta. Ready to share.Manufacturer-specific templates · In development
Built around the published guidelines of major game manufacturers.
We’re preparing templates that export to each manufacturer’s specifications, so you can design your game with the production files in mind from the start.
For the next review, and the next handoff
Keep the artwork, cut lines, and destination in view. Use production checks to find issues such as missing fonts or artwork, and follow them back to the affected component.
Supported SVG/PDF artwork, dielines, and marks. Set dimensions, bleed, and safe areas. Export artwork and separate cut-line or print-mark plates for your printer or manufacturer.
Prepare supported components for Tabletop Simulator. Open the exported game in Tabletop Simulator and check the pieces on the table.
Export the project with its included assets as a .tabletop archive. Reopen it in Carta or make an independent working copy.
08 / Give the game its moment
For the pitch, the product page, or the next update. Stage your actual components, compose a shot, and explore light and movement in Photo Studio.
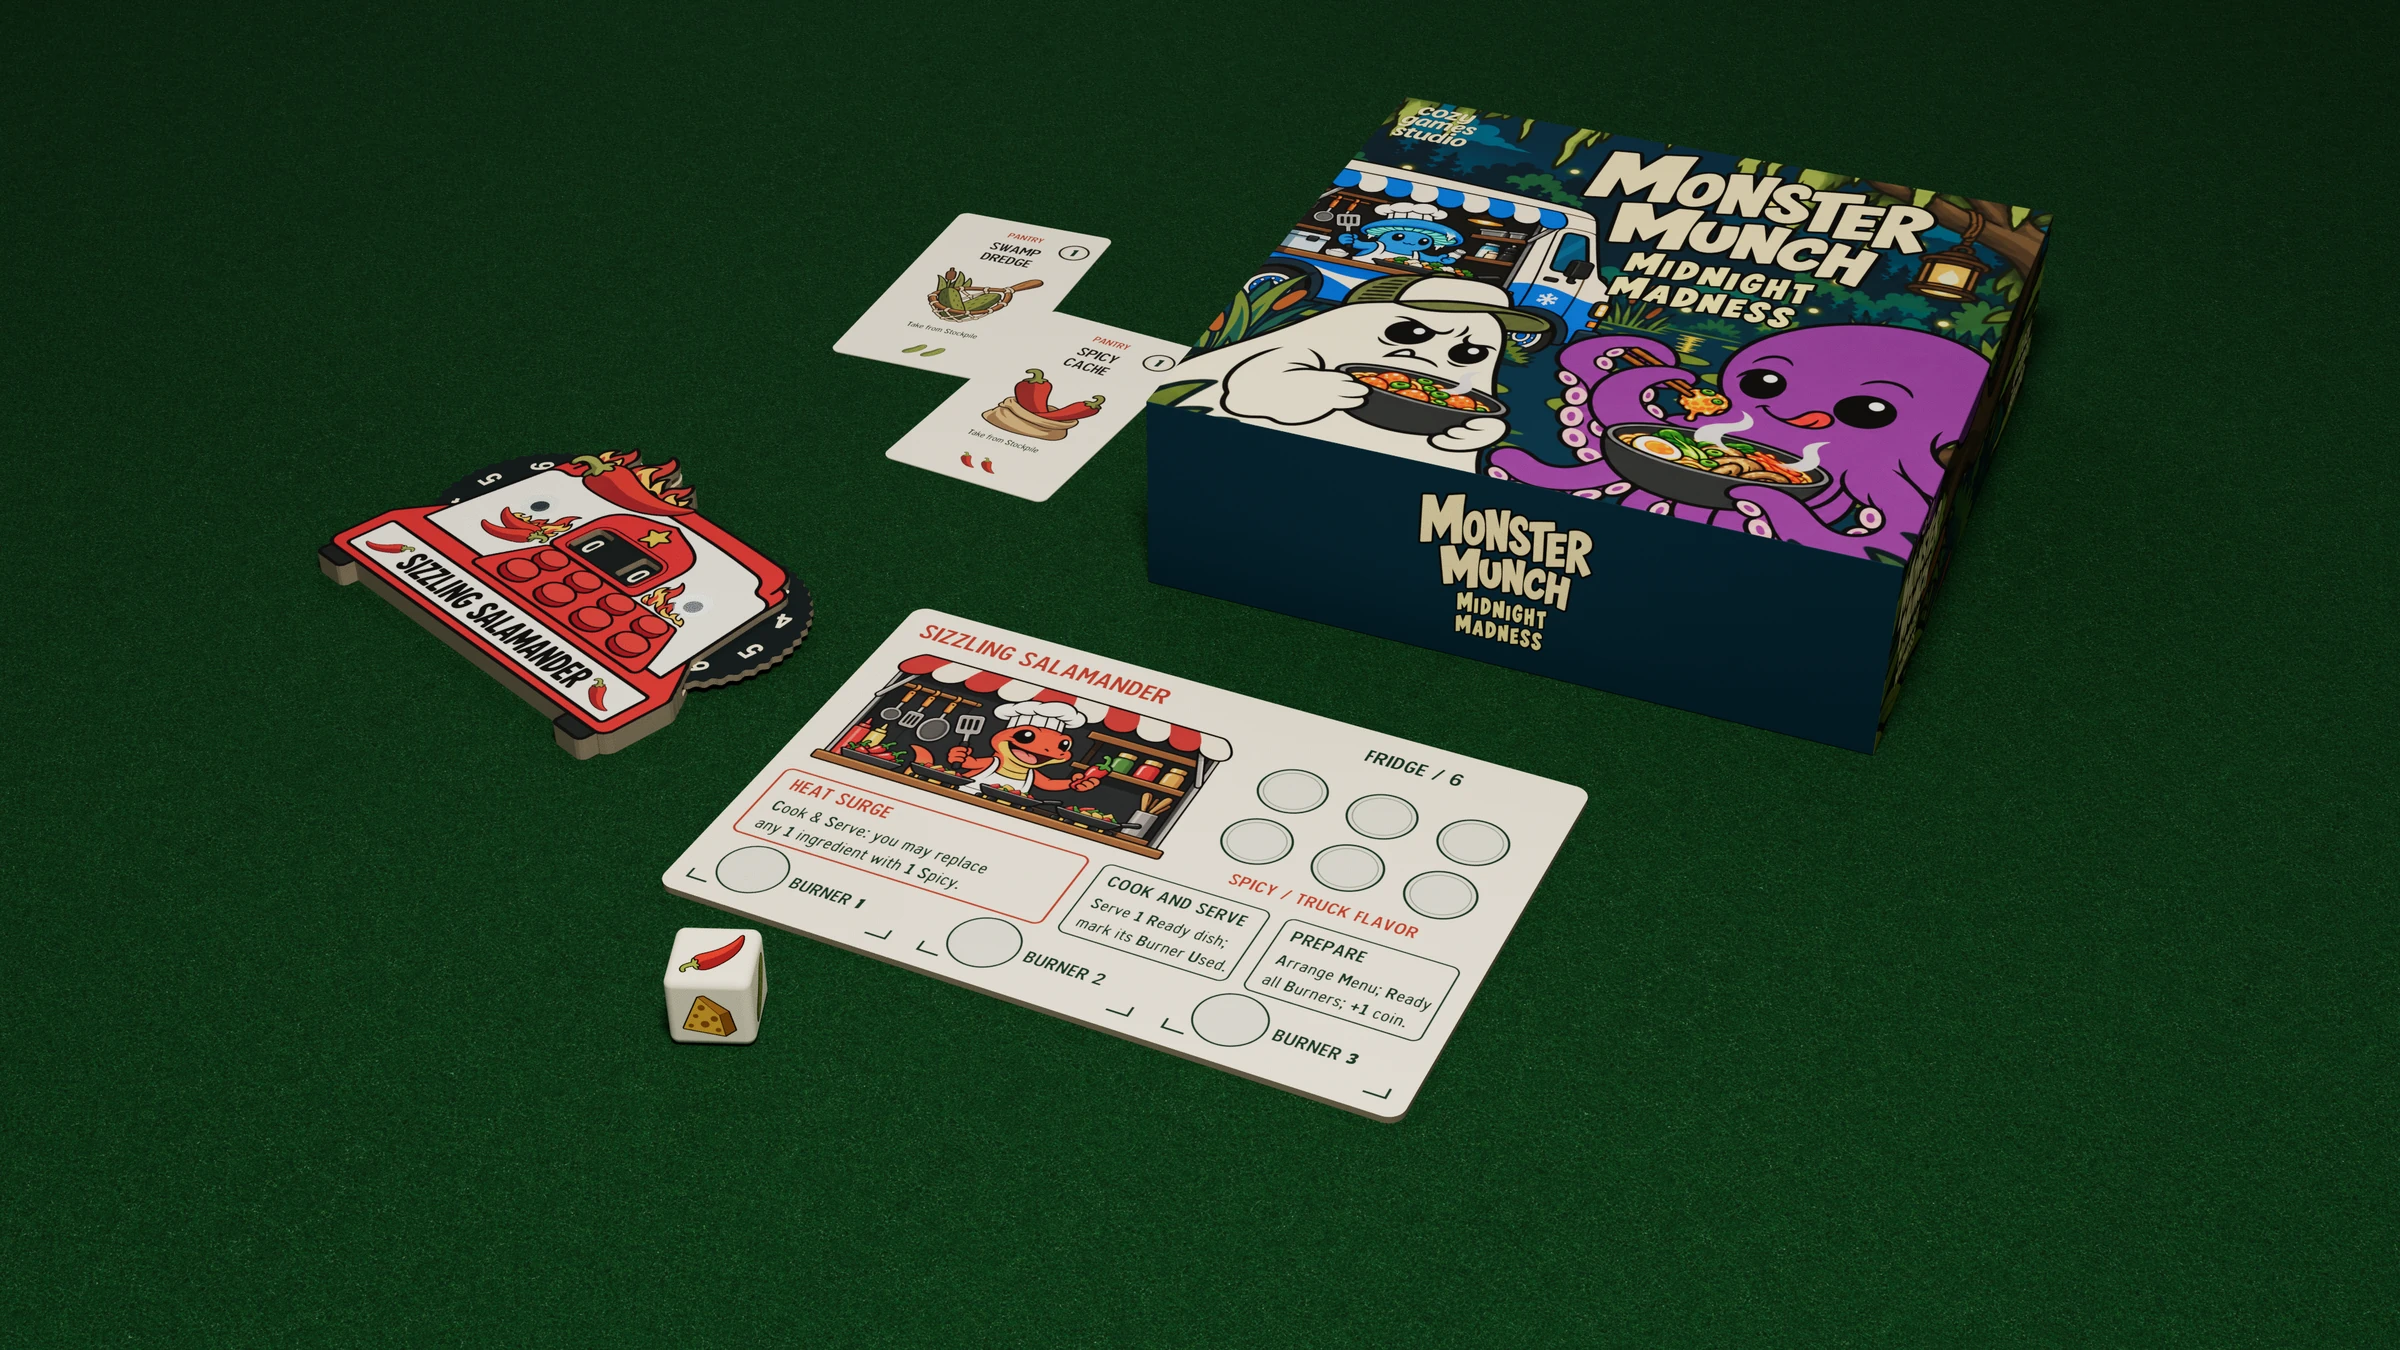
From still life to movement
Move the camera. Fan out a deck. Bring the pieces together. Set camera and component keyframes in the Studio timeline to present your game in motion.
The launch film / 01:57
A few things you might be wondering
Carta is taking shape.
Here’s where things stand.

Your next game starts here
Carta is in development. Join the launch list for product news and availability announcements.